Thank you for choosing our mini block sets! Building with small blocks can be a rewarding experience, but it also requires attention to detail and patience. We’ve created this guide to help you navigate our instructions smoothly and achieve the best results.
Our instructions are designed to guide you step by step through the build process. Here’s how to make the most of them

Step Number: Each step is marked by a black number inside a yellow circle. Follow the steps in numerical order to ensure proper assembly
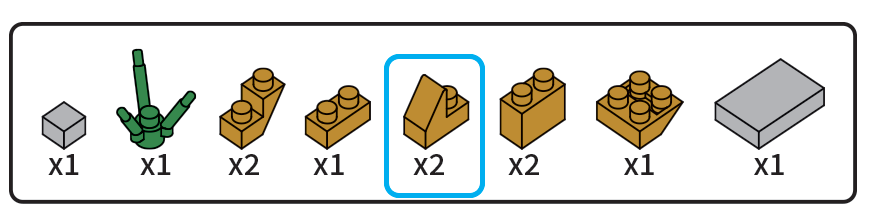
Parts List: Found near each step number, you’ll find a box showing the bricks required for that step. This list includes the type, color, and quantity of each brick needed. We recommend gathering these parts before starting each step to stay organized.

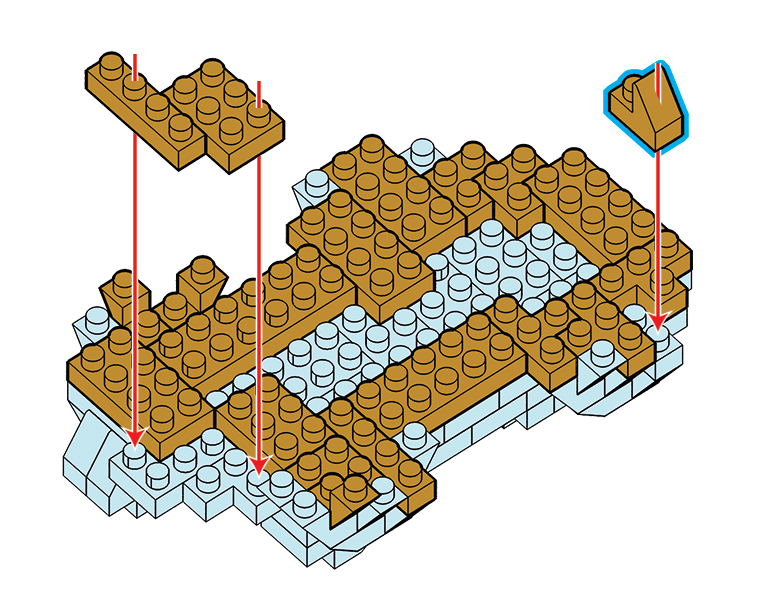
Light Blue Bricks: Any bricks that were assembled in previous steps are shown in light blue. This color helps you see where new bricks should be placed without confusion. Light blue acts as your reference point, clearly distinguishing the new pieces from the existing structure. Make sure to orient your model in the same direction as shown in the instructions to ensure proper alignment.
Red Arrows: The red arrows in the instructions show the exact placement and orientation of new bricks. They often point to specific studs on the existing structure, guiding you to line up the bricks correctly.
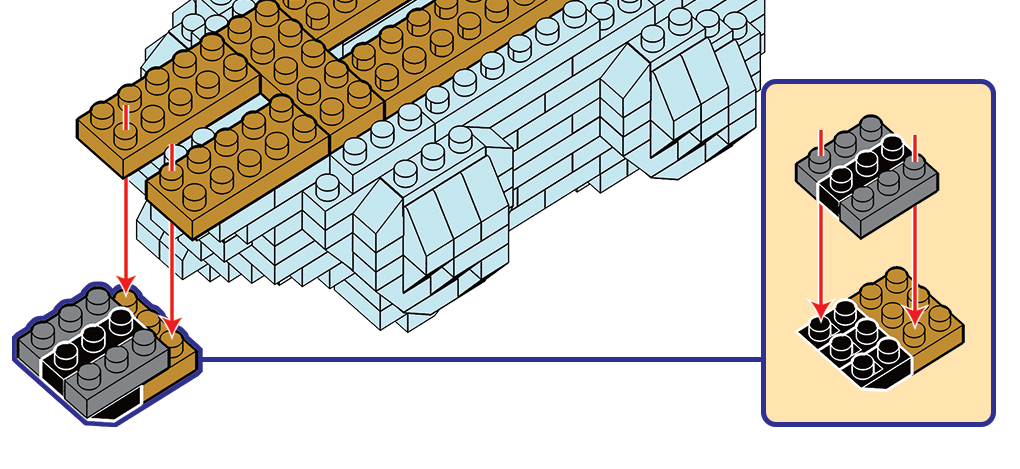
Call-Out Boxes: Some steps include smaller sub-steps inside call-out boxes. These boxes break down more complex parts of the build into simpler, easier-to-follow steps. Complete the sub-steps within the call-out boxes before moving on to the main assembly.
Tip for Success
Stay Organized: Arrange your bricks in groups according to the parts list before you begin each step. This will help you find the right pieces quickly and easily.
Expect Extra Pieces: It’s normal to have a few extra pieces in your set. These are included just in case you lose a piece during the build. If you find you have extras at the end, no need to worry—your model is complete! If you do find you are missing pieces, use our Mini Parts Request page and we would be happy to send them to you.
Brick Separator: Accidents happen to all of us! If you place a brick in the wrong spot or need to make adjustments, don’t worry. Each set includes a mini block separator. This handy tool allows you to easily remove bricks without damaging them. To use it, gently insert the separator between the blocks you want to separate and twist or lift to remove the block. This tool is especially helpful for handling those smaller, more delicate pieces.
Final Thoughts
Building with mini blocks can be a detailed and intricate process, but with patience and careful attention to our guide, you’ll find the experience to be highly rewarding. By following the light blue indicators and alignment arrows, and by approaching the build with patience, you’ll be able to create something truly special.
We hope you enjoy your building experience, and we’re here to assist if you need any help. Happy building!